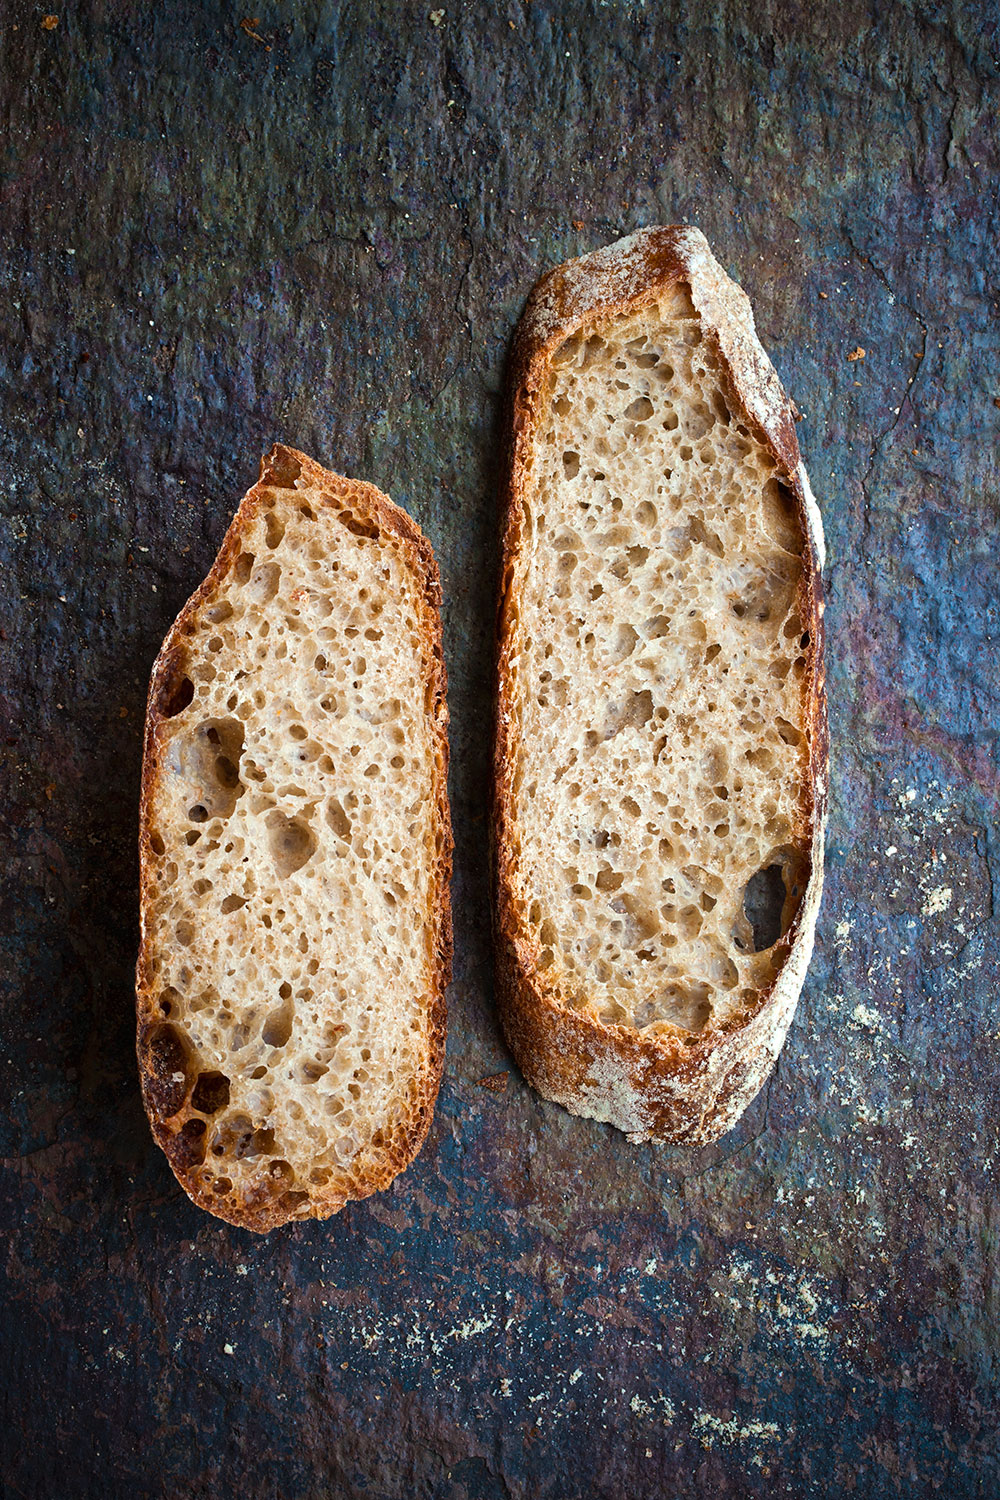
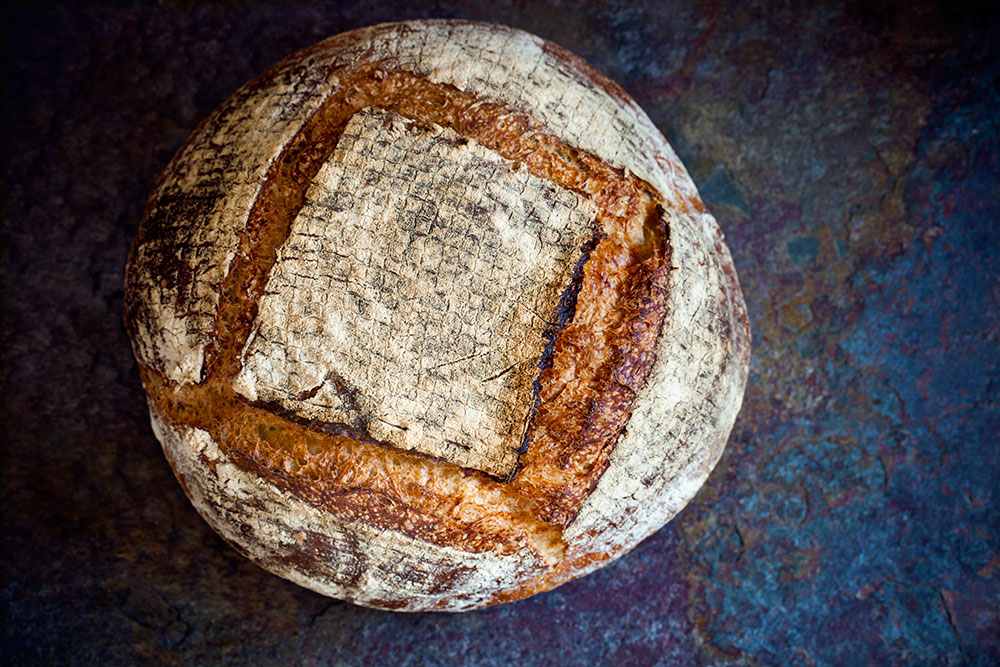
It could have risen a bit more. It should have had a more open crumb. And the “ears” would have definitely been more pronounced if I had scored the dough with a razor instead. But still, I can’t believe this bread came out of my oven.
Thanks to Chad Robertson and his detailed recipe, Tartine Bakery‘s Basic Country Bread, in his book “Tartine Bread”, I baked the most beautiful and flavorful bread ever. Step-by-step instructions with photos and stories of a group of committed test bakers make up 41 pages of the book. It is impossible for me to explain the art of making this bread in such depth. If you’re as excited and obsessed as I am to be able to bake their signature bread at home, buy the book. Instead of repeating their recipe, I’d like to act as another committed test baker by sharing my experience below, and include a few suggestions for bakers who don’t have access to the equipment mentioned in the book. I hope you take as much pleasure as I did in conquering this bread recipe.
The recipe starts by testing the sourdough starter. Drop a tablespoon of starter in a bowl full of warm water. If it floats, you are good to go. If not, you’ll have to wait for the sourdough starter to develop further until it passes the test.

After you whisk the sourdough starter into the warm water, add the flours and mix until completely hydrated.


After the initial rest period (autolyse), you add salt with a bit more water and knead until incorporated.
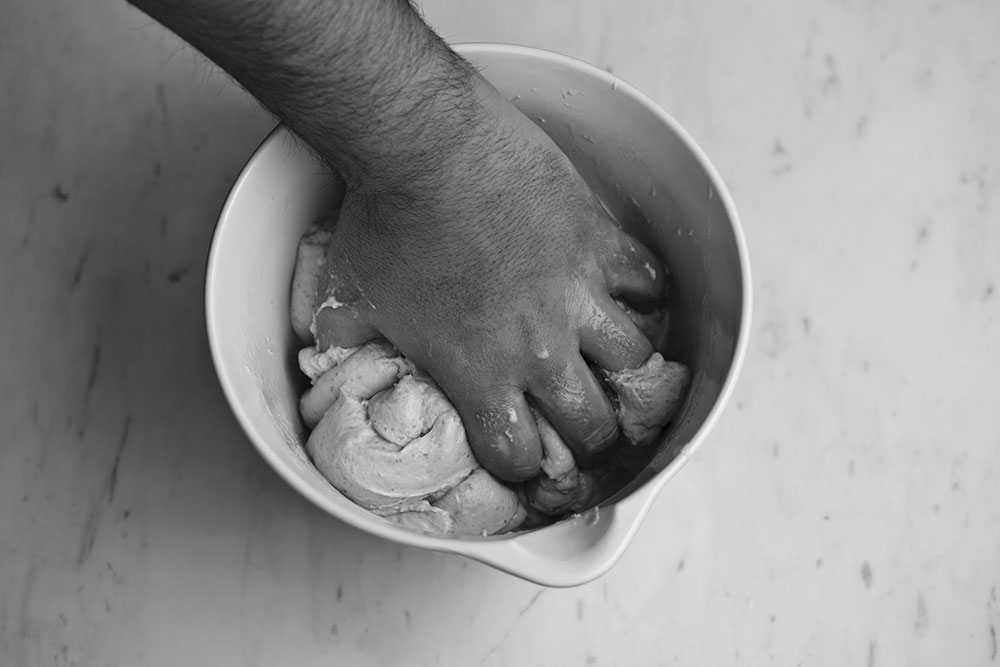
It will break apart at first, but will come together as you knead.
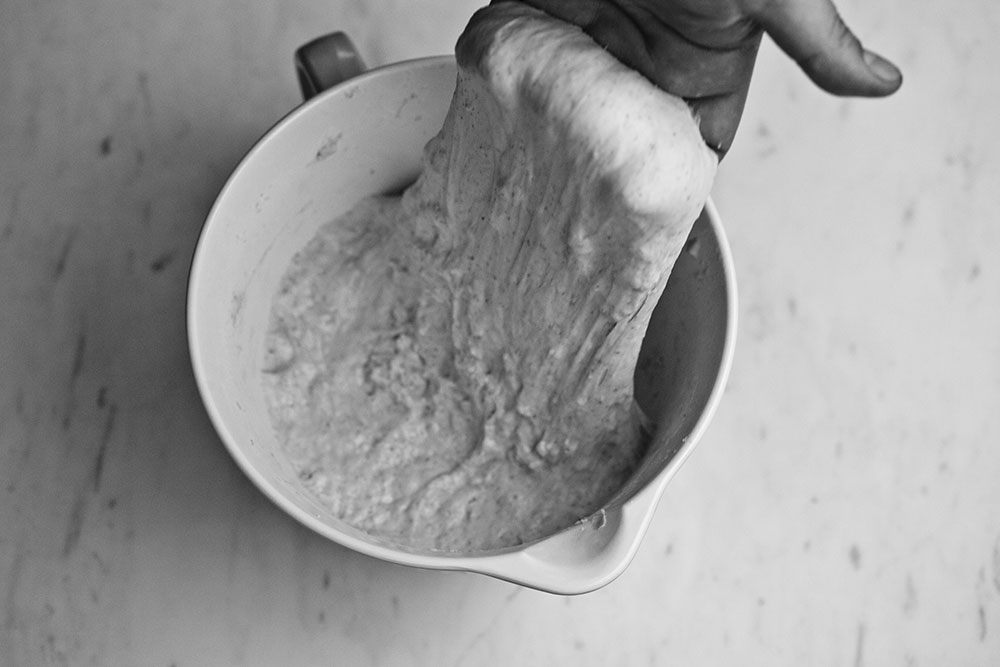
Quite straightforward up until this point.
Then, the folding process starts. I can not stress how important this step is. You have to examine the changes in the dough very closely. The recipe suggests 5 turns in a period of 3-4 hours. At my first try, I did exactly that and even though the dough didn’t develop as explained, I decided to proceed with the rest of the recipe.

Mistake.
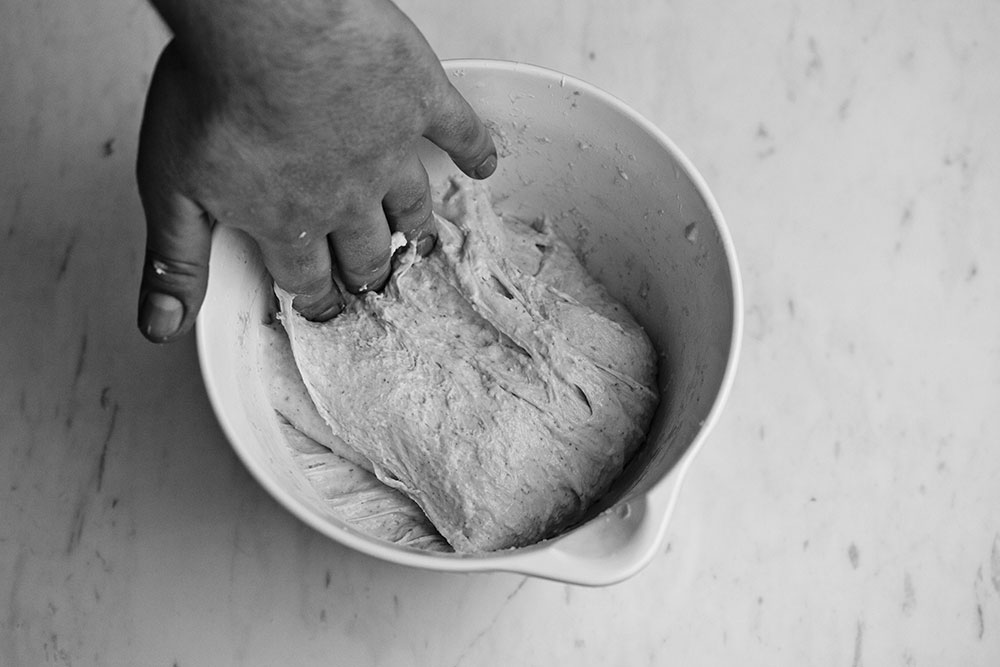
But I learned my lesson. It is hard to follow such a lengthy recipe, especially with wet dough stuck between your fingers, so I highly recommend reading the recipe from start to finish twice before you put your apron on. Also, write this on a piece paper and tape it somewhere highly visible: “Watch your dough and be flexible.”


I achieved the aerated and softer feel with 7 turns, which took 5 hours in total. Extending the bulk fermentation period made a huge difference.
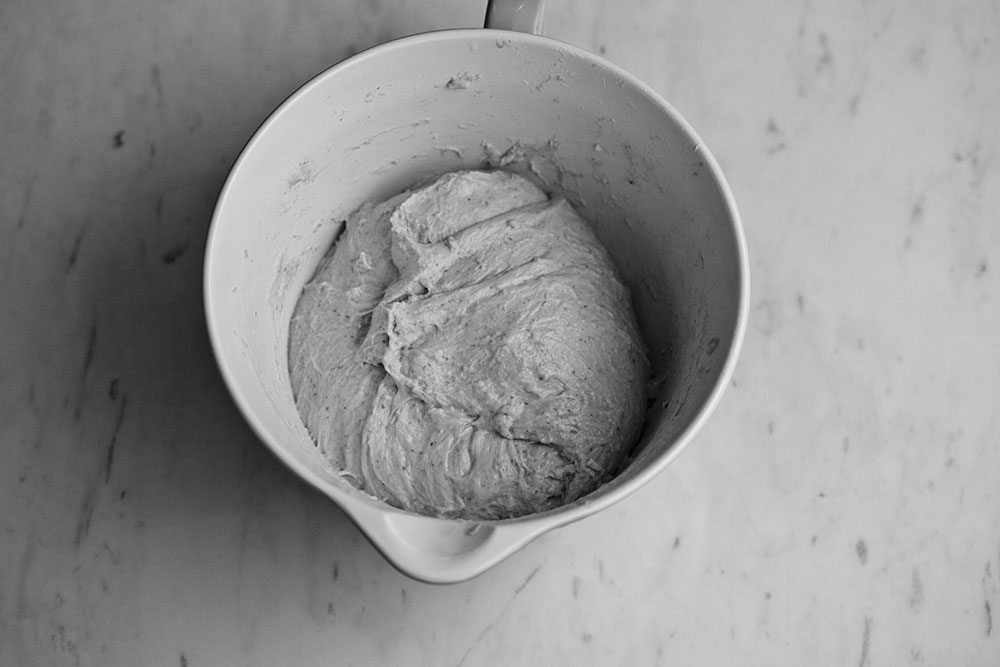
The above photos are from the first two folds. I wish I could show you how the texture changed at the end, but by time I was done it was almost midnight.

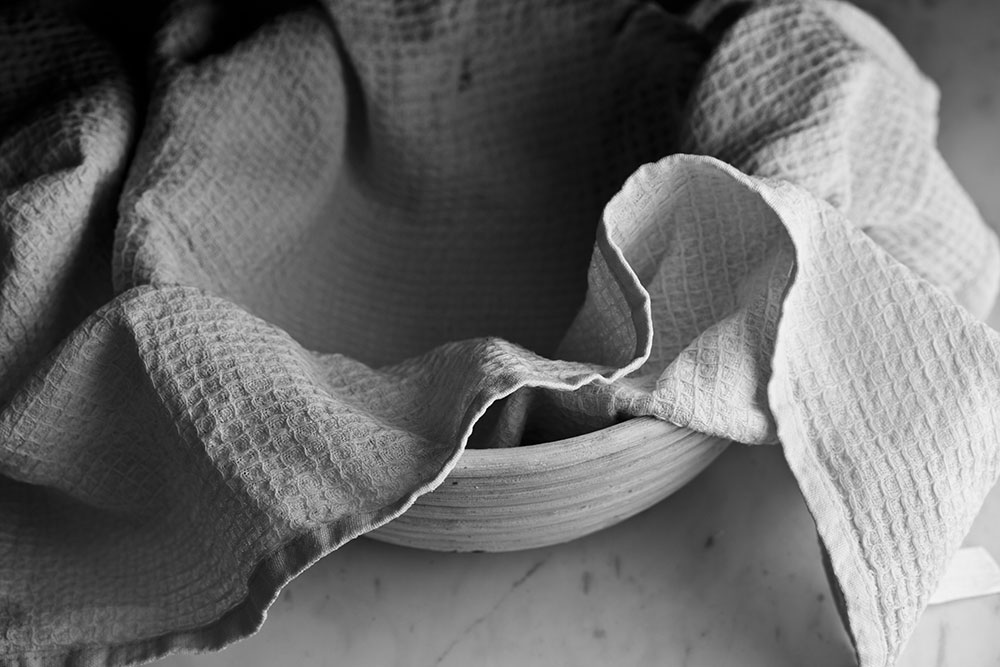
I was also excited to finally get a chance to use the banneton I bought in San Francisco. I love the imprint the basket leaves as the dough rises, so I decided to use it without a towel. Another mistake. Even though I floured the banneton heavily, the dough stuck to the basket.
Lesson learned.
Another important note is about equipment. Conventional home ovens are designed to ventilate moisture. This is a challenge for the home baker as we need the moisture in the bread for it to rise properly. Chad Robertson solves this problem by using a dutch oven, which creates a sealed environment to trap the moisture in the bread.
Great. But I had another challenge. Chad’s favorite dutch oven – a cast-iron combo cooker – consists of a shallow frying pan and another deep one, acting as a lid for the first. Transferring the bread into the shallow pan also eliminates the risk of burning yourself. The frying pan has a raised rim and when you cover it with the deeper pan, you can create a completely secure seal.
The problem is, these pans are not available in Turkey. For me, the next best solution was to use two dutch ovens with the same diameter. They don’t seal as securely, but it is as close to the original as it gets.

Another option (using a single dutch oven with a lid) is to transfer the dough on a piece of parchment-paper-lined cutting board. You then turn it upside down, hold from the sides of the parchment, slowly lower the bread into the pan and cover with a lid.
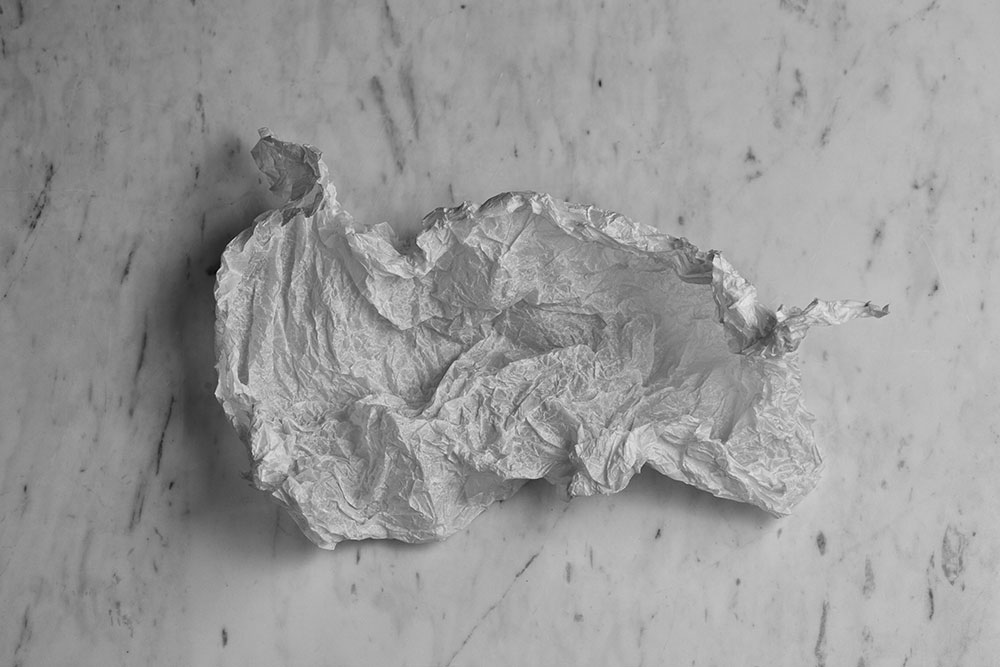
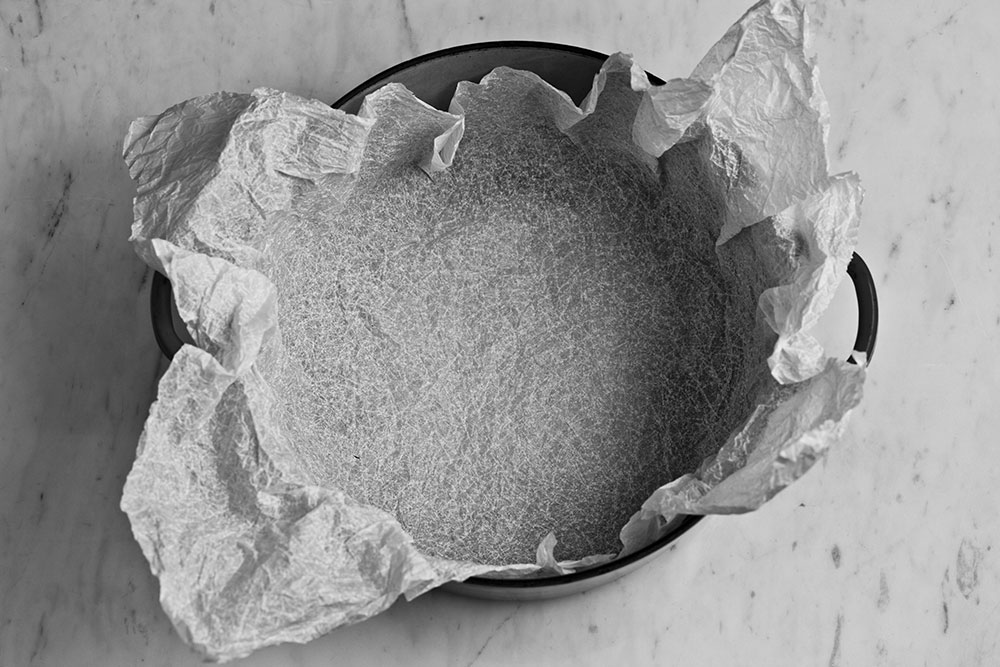
If you’re going to take that route, I’d like to share a trick I learned from Heston Blumenthal. Before you line the cutting board with the parchment paper, crumple it up half a dozen times. This process “ages” the parchment paper and prevents sharp edges. When you transfer the soft bread dough with the “aged” parchment, it will not damage the dough as it rises inside the dutch oven and the bread will have a perfectly round shape.
Let’s take a look at the difference. Below is a dutch oven lined with parchment paper straight from the package. You see how there are sharp edges all around the sides?
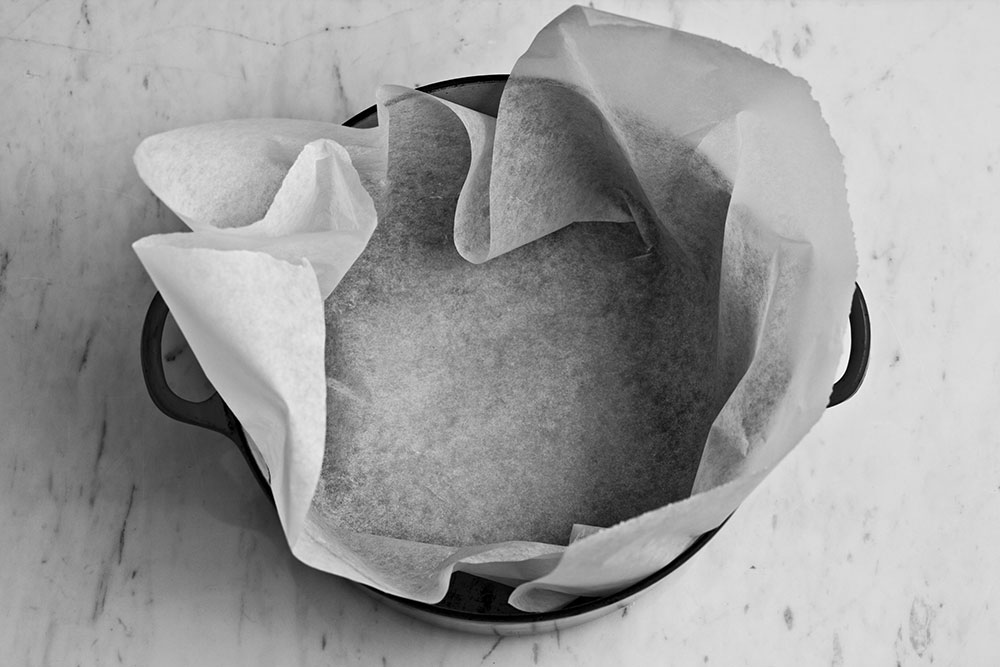
And here’s how it looks like after you crumple it up half a dozen times. See how it fits much better? No more sharp edges. It almost fits like a glove.
From bulk fermentation to shaping and bench rest, all went smoothly every single time.
Just another small but important note about scoring the dough…
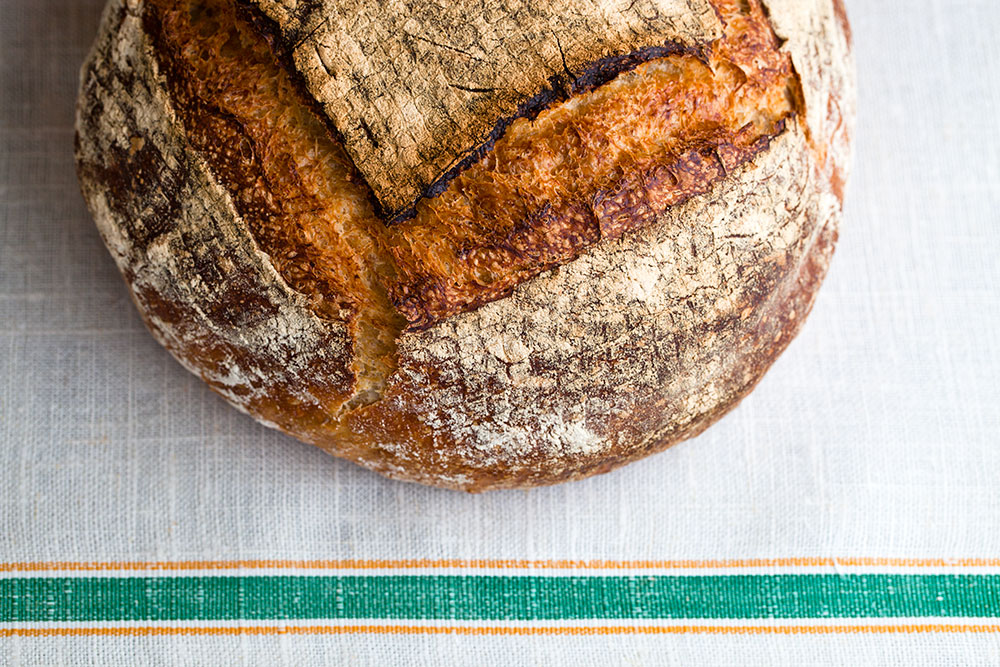
In order for the bread to rise to its potential, you score the dough right after you transfer it in the dutch oven. Use a razor blade as Chad suggests. Do not think for a moment that your sharpest knife will do the trick. It won’t. If you look at the photo below, the ear to the right is more pronounced than the one to the left. I guess I went deeper on the right ear, but still not deep enough. I repeat: Use a razor blade.
A 41-page-long recipe may scare a lot of people, but you really shouldn’t take this as just another bread recipe. You learn as you bake and get much faster with practice.

And at the end, you’ll have a recipe to treasure for life.
Thank you, Chad.
Oh, and here’s how they do it Tartine:
Enjoy!


This has been my go-to bread recipe for several months now, and after making dozens of loaves I have it down pretty much to a science (the only thing that sometimes goes wrong is that I get a little “bubble” out on the side of the bread from not slashing it well enough). But it tastes great, and gets raves (I make it with 100g rye flour and 900g bread flour, and I reduce the water by 25g, but otherwise I use the recipe as printed).
Your loaf looks absolutely beautiful! After reading your adventures with sourdough starter I decided to make my own and baked my very first loaf last week. I’m still a little way off producing something quite so incredible but it’s wonderful to have something to aspire to. Gorgeous gorgeous photos.
Wow, the bread looks gorgeous! you can open a bread shop now, congratulations and thanks for sharing 🙂
I never heard of testing sourdough starter by floating a tablespoon of it in warm water. It makes me want to run to the kitchen to float some of mine!
I swear I learn something new every time I visit your blog. 🙂
what an excellent idea to crumple the parchment–i never thought of that but now will be doing it. thank you!
great looking bread and step by step photos.
James G – I had been meaning to incorporate rye flour into the mix. Glad to hear that’s what you preferred and thanks for the detailed description.
thelittleloaf – I’ll be following your sourdough posts. Can’t wait to see what you’ll come up with.
Sharyn Dimmick – Actually, I should have said leaven instead of starter. Chad says that it’s the most reliable indication that the leaven is ready.
Maureen – Glad to hear that! Thanks.
Rose Levy Beranbaum – Thank you! Isn’t Heston a genius? He uses this technique to line tart shells prior to blind-baking.
Lovely bread! A bannetone is on my wish list now.
That bread looks amazing! I’ve been baking from that recipe since last winter – practice makes perfect. Thanks for sharing your results! You must try his suggestion of setting aside a little portion for a pizza crust. So good!
You just gotta say “Bread” and I’m in! So, thanks for the recipe and I’m excited to give it a try!
Grandma Kat
XOXOXOXOXO
What a masterpiece!
I went to Tartine recently with a bread maker. She spent about 5 minutes smelling the bread, pulling on the crumb, tasting it — she was in heaven. I am not a bread maker and intimidated by the length of the recipe. What is is — 20 pages long? So my hat’s off to you for trying it.
Merhaba Cenk,
I am more of a cook than a baker and your loaf certainly inspires me to have a go, many thanks for that!
I love following you and really enjoy your posts;
your recipes, market photos are truly inspirational for me and I turn to them very often. I just nominated you for the Kreativ Blog awards, here is the link if you’d like to check out and re-post http://ozlemsturkishtable.com/category/awards/
Best wishes from England,
Ozlem
Özlem – Thanks a lot for your kind words and the nomination!
Cent, I just saw your nomination on Saveur and gave you my vote.Congrats!
-Erin
erin – Thank you so much! By the way, I loved you Design Sponge interview. You have amazing taste.
Congratulations on your amazing Blog!
I just voted for you on Saveur.com for Best Piece Culinary writing. Do hope you win the award!
Rgds
I.(Lisbon, Portugal)
That’s a beautiful bread!
kapaklı bir şekilde borcamda pişirebilir miyiz, denediniz mi?
could we bake it in a pyrex with the glass lid on
harika görünüyor, bakalım benimki nasıl olacak
gülten – Denemedim ama cam, demir kadar yüksek ısıya ulaşamayacaktır. Pişirme esnasında da aynı randımanı alabileceğinizi sanmıyorum.
Cenk bey ekmek tarifinizi bugun denedim. Katlama surecinde biraz umitsizlige kapilsam da sonuc guzel oldu. Ben dolapta beklettim son asamada ama eksi olmadi. Aynen resimdeki gibi oldu. Tesekkurler.